At the moment, I’m still quite nervous about the idea of an online show for my project. I worry that the research that I’ve done to lead me to this point might go to waste or that all of the creative mediums I’m trying out will ultimately be inaccessible. More than that, I worry that the entire purpose of my project will be lost without people being able to interact. I’m just so thankful that I decided to move into the direction of digital mediums when I did rather than going down the route of pop-ups like I had planned. Then I would have been certain that my work would have been a waste of time.
But, aside from some minor worries, I still feel confident that there is something I can do to make my project stand out. What really motivated me to keep moving forward was the thought that if people can’t see me work in person, then I’ll just have to bring my work to them another way. That’s why I thought about expanding my experiments in AR into the realm of 3D. The AR software I was working with had so many possibilities and I didn’t want to waste any opportunity to try out some interesting experiments.
As part of experimenting with 3D, I decided to experiment with AR face filters. A key theme of my project is interaction between voyeur and subject, and in the case of digital voyeurism this means interaction between what is real and what is digital. As such, I thought about maybe offering people a chance to convert themselves into a digital entity using face-tracking technology. Perhaps this could be a metaphorical integration of digital and real identity.
I started out simple for my first experiment, which was to turn myself into a digitally illustrated version of myself. I started this by downloading a 3D face mesh and using it as a template to make a 2D texture of an illustrated face.
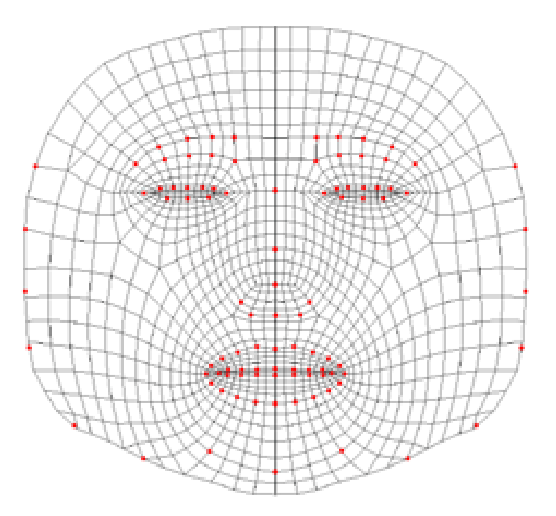
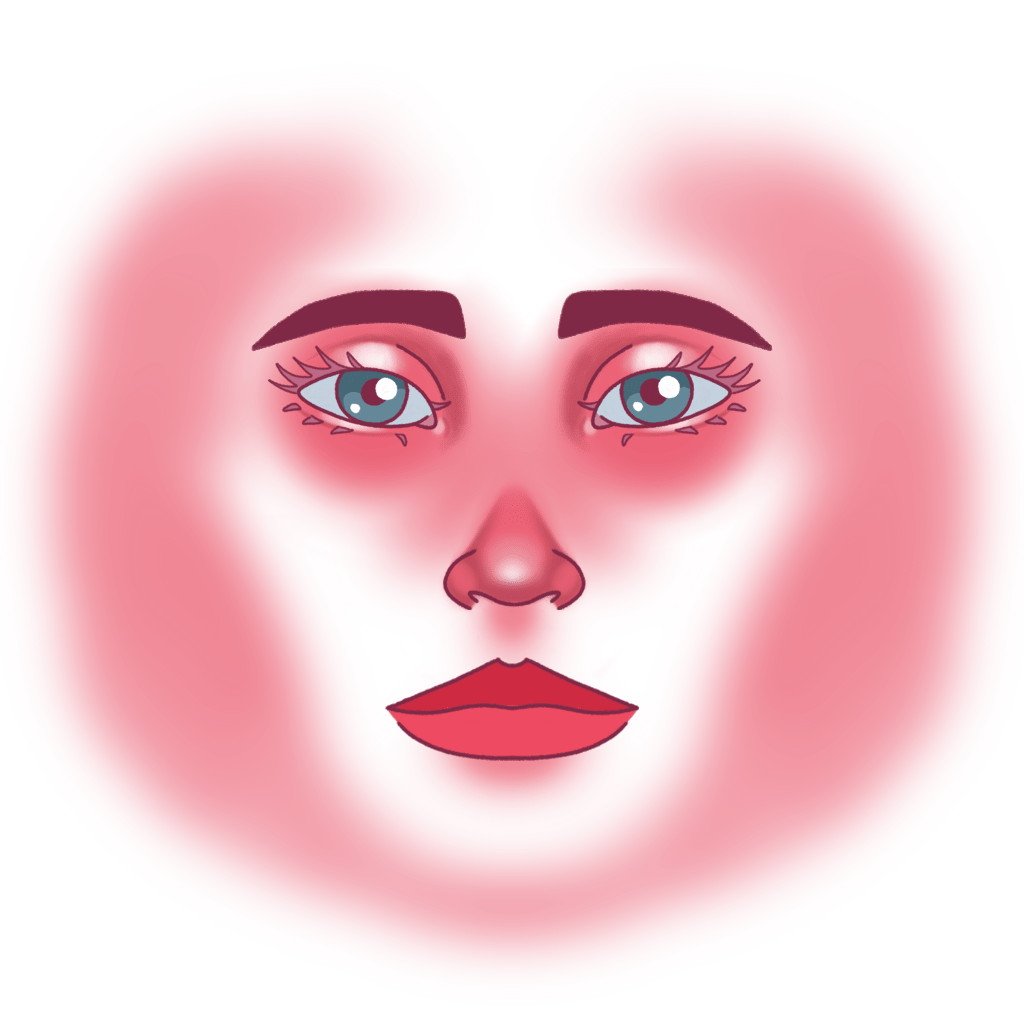
This was then uploaded to Spark AR to begin the process. The mask itself is comprised of two layers. The first layer is an opaque 3D face mesh with a skin tone applied and a the second is a mesh on top to which I applied my drawing as a texture. I did this with the idea initially that I could adjust the skin tone to either match mine or provide a range of options within the AR effect for people to adjust the skin tone themselves to match their own.
I’d thought about applying a blinking animation to my mask to add an extra layer of realism, but when I put the mask together, I saw that it reacted pretty accurately to facial movements and expressions – not exactly, but close enough that it didn’t seem necessary to go to that extra length when it wasn’t needed.

Generally speaking, I think the results are pretty good. They’re not exactly perfect, but I know that there was only so much I could do while I was applying a 2D texture to a 3D object. Some warping occurs at certain angles because my texture didn’t follow the exact contours of the 3D mask, and objects like the eyelashes and nose look weird because they don’t have much of a 3D effect. In terms of my face-filter, I wasn’t particularly worried about these issues, but they did have me considering the possibility of creating 3D models.
One of the AR effects available in Spark AR is to place digital 3D objects in the real world, which I thought could be a great solution to having my work confined to a digital space. If it wasn’t possible for people to view my work for themselves, then I thought that maybe I create 3D models of my illustrations that people could view.
I’ve never worked with 3D modelling software before, but I’d been interested in learning it for some time, so I jumped on the opportunity to test it out. I downloaded the software Blender to try my hand at making digital sculptures.
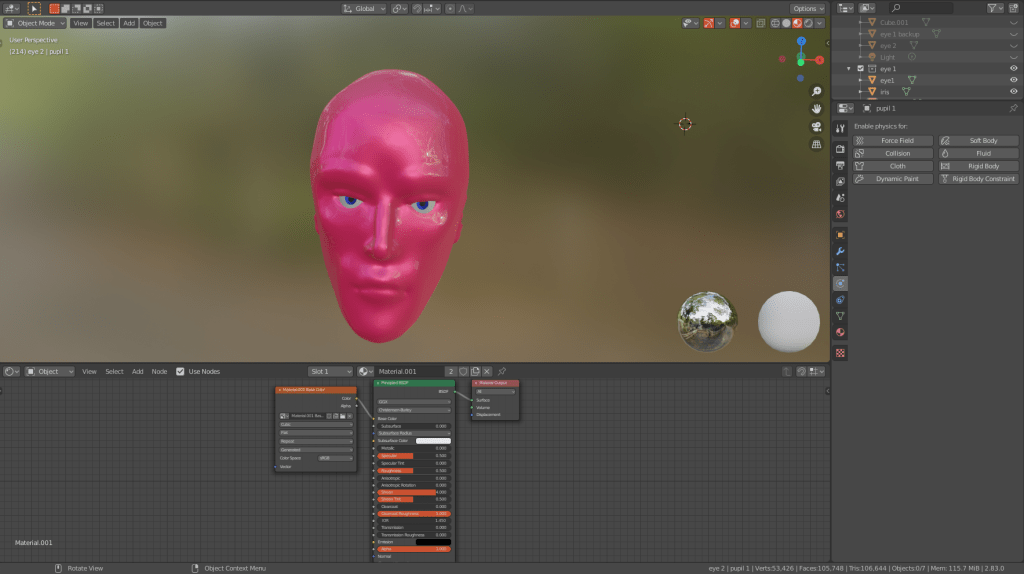
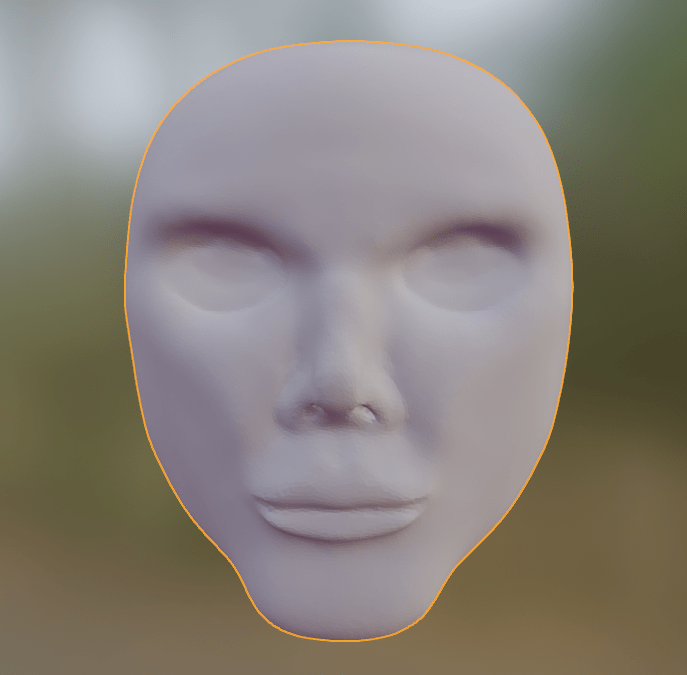
I started with what I know, which is faces. I used the sculpting tool in Blender to just make faces and kept at it until I managed to sculpt an almost decent looking 3D sculpture of a head. Because I didn’t know anything about applying textures to my sculpture, however, I just had fun with all of the settings and tested things out until I felt that I’d come up with something ‘finished’.
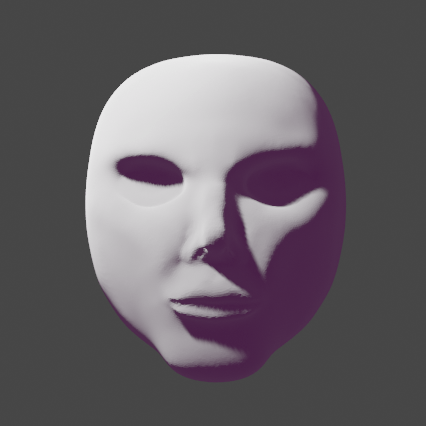
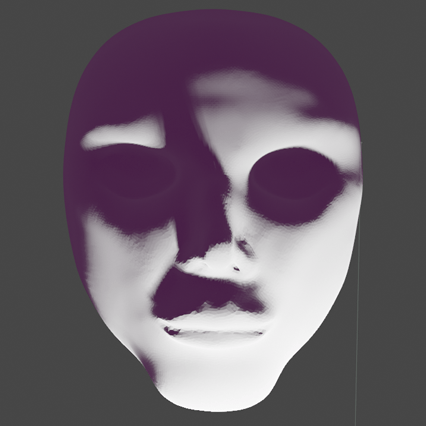
However, my limited understanding of blender became apparent when I tried to put my model into an AR effect. Despite how detailed and interesting the head looked on the computer screen, the finished AR effect looked completely different.
I’m still not entirely sure what went wrong, aside from guessing that maybe the AR software compressed my model. It turned out to be a pretty cool effect, but it wasn’t nearly as impressive as I’d hoped it would be. Overall, I’d love to try something like this again but I’d probably do some studying up on Blender and how it works next time before I jump into things.
In terms of whether I’ll continue using 3D models in my project, I’m still not quite sure. On the one hand, 3D modelling is a lot more complicated than I’d given it credit for, and without some decent practice I don’t think I’ll be able to make something that would meet my standards. But, on the other hand, there are a lot of really useful tools in Blender that I think will really help me in other areas of my development.
Earlier, when I’d been looking at character design, I realised how important it is to work from good references, and this was only reinforced when I took a stab at animation. I think that Blender can really help me with this because it allows me to create my own references to meet my needs. If I create my characters as a 3D sculpture before drawing them, I can use the model to keep my character designs consistent when I draw them from different angles. There is also a tool in Blender that lets me adjust the lighting, which I can use to look at how light interacts with different materials and also help me find the right lighting for a scene to create the desired atmosphere.
Even if 3D doesn’t become a part of my final project, I’m really happy that I explored it. One of my own personal goals for this project was to experiment and learn new skills, and I feel that these experiments helped me reach that goal.
